Thursday, August 27, 2015

Peace Snowflakes Card


I have always loved the snowflake look created by Heather Telford and others using masking fluid, but was never successful until now creating the look. I bought some very expensive masking fluid when I first saw Heather's cards using it and tried spattering it on with a toothbrush as she suggested, but had no luck. So I put it aside for some time, then pulled it out again to try on one of my BBCB backgrounds, and the masking fluid was all hard:( I know more about spattering now, so I was determined to try it again. I bought some Liquid Frisket Mask with a coupon and tried flicking it with a small paint brush, but it would not come off the brush. It was too thick. Dotting it one with the paint brush looked too artificial. Then a brilliant thought occurred to me- what if I put some on my craft sheet, mixed in a little water to thin it a bit, and tried flicking it on the water color paper with a small brush? It worked! Even diluted, the masking fluid created a small circular mask, so when I sprinkled Color Burst on top and spritzed with water, those small "snowflakes" stayed white. I tried one of my new colors of Color Burst for the first time- Indigo, which is a dark blue. I mixed it with the original Color Burst blue and spritzed with water. When it was dry, I rubbed off the liquid frisket masking fluid and I had a snowy sky look. I layered the completed piece on a navy blue card and added a die cut tree border from Poppy Stamps, some doves from Memory Box and "peace" from Ellen Hutson.

Since I used "snippets" for all the die cut pieces, I am entering this card in the challenge at Pixie's Crafty Workshop, the Holiday challenge at Live Love Cards, and the Anything Goes challenge at Simon Says Stamp.

Wednesday, August 26, 2015

Hello Handsome Sketch Card from Repeat Impressions


Happy Wednesday everyone! It's time for another fun sketch challenge at The House that Stamps Built and we are challenging you to make a card using the sketch below and link it up for a chance at some great Repeat Impressions rubber! For all the details on what you can win and to see the other Rock Stars cards using this sketch, please visit our blog.

I decided to feature Repeat Impression’s handsome crane on my sketch card. I stamped him on aqua blue paper and framed him with an stitched oval cut with a My Creative Time die out of a kraft piece. “Hello handsome” is from a new set of stamps soon to be released by RI. Two of four new word sets are on the website here, and two more are coming soon. I love them all and just can’t resist using them on most of my new RI cards! I added a strip of washi tape to finish my sketch card. 


Here is the sketch for you to follow when you create a card for our challenge. You do not need to use Repeat Impressions stamps to enter our challenges, but you get an extra chance to win if you do!

I am entering this card in the Anything Goes challenges at 613 Avenue Create and Craft Your Passion.

**Don’t Forget: for a 10% discount on any size order at Repeat Impressions, make a note of my discount code (rr10kh), click on the blog badge on the side of my blog and go to the website here to shop and save!**

Tuesday, August 25, 2015

Baby Card for my Grandson-to-be


My son and his wife are expecting a baby boy and when we visited them last week, I gave them this card along with their present so they could use it for something for the nursery and baby. I used a beautiful saying from Brian Andreas called "Such Small Things" that makes me tear up every time I read it. My daughter has the print from Brian Andreas with these words on the wall in my grandson's room, and I am going to purchase one for my son and his wife too. It says so much about how we love these children even before they are born. I made the carriage with a new technique from Fran of Stampendous that I am super excited about. It is called Deep Impression technique and I used Stampin' Up's baby carriage die and stamp along with glittery blue and regular blue embossing powder. I will  be sharing more cards with this technique and doing a workshop featuring the technique soon as well. The butterfly punch is from Martha Stewart and the embossing folder is from Sizzix.

Here is a picture of the baby carriage close up showing its awesome dimension and sparkle:


I am entering these cards in the Anything Goes challenge at Craft Your Passion and Crafting from the Heart.

Monday, August 24, 2015

Rubber Cement Fun for Repeat Impression's Project of the Week

It's my  turn to share a Project of the Week at Repeat Impression's blog and mine. I love discovering new background techniques to try, and recently Ink Stained Roni shared several blog posts where she used rubber cement and Brusho Coloured Crystals to create some awesome and easy backgrounds. I ran right out and bought some rubber cement ($1.79 at my nearby Target) and then I played. I am so excited to share that Repeat Impressions is now selling the Brusho Crystal Colour Craft Spritzer Set with many of my favorite colors all in one kit! All the colors on these cards are in that one kit with a spritzer bottle too! Here is a link to the Brusho set on the RI website. 

To make a fun background that looks like faux marble, all you need to do is drizzle the rubber cement onto watercolor paper. let it dry and then sprinkle and spritz with your favorite colors of Brusho Crystal Colours. Here are a couple pictures of the process:


On my first card, I chose two light colors- Lemon  and Sea Green Brushos for the first layer. I sprinkled on a little of the Brusho crystals, spritzed with water and then let it dry. Then I drizzled on some swirls of rubber cement and let that dry. I also drizzled the rubber cement on glossy paper to see how that would look.

I let the rubber cement dry thoroughly then added my magical colored Brusho crystals.  On the background with the light green and yellow base on watercolor paper, I added Turquoise and Orange Brushos and spritzed with water. On the glossy paper, I added Orange, Turquoise and Violet Brusho Crystals and spritzed them with water to activate the colors. On the glossy paper, the water does not soak in like on the watercolor paper, but it still resulted in a fun background. When the papers were dry. I removed the rubber cement with an adhesive eraser. This is how the pieces looked after this step, and the completed cards:


I cut the backgrounds down to fit on A2  sized cards and added some Repeat Impression's stamps and gems. The green card features one of my favorite RI stamps, Crowned Crane Deco. The violet glossy card features a sneak peak at a new word set that will be released by Repeat Impressions soon. I cut an oval with a Spellbinders die and sponged with violet ink while the piece was still in the oval die. Then I stamped "you" with turquoise ink and "did it!" with black ink. I raised this piece with pop dots and attached the colorful piece to a purple card base.

I had fun playing with rubber cement and Brushos to make these easy and colorful backgrounds. I suggest you give it a try!

Saturday, August 22, 2015

Anything Goes 4 Kids at Send a Smile 4 Kids!


It’s Saturday and time for another fun challenge at Send a Smile 4 Kids! This time our challenge is Anything Goes 4 Kids!  Create and link any card appropriate for a child, and you could win one of our great prizes.


We have three very generous sponsors for this challenge: Flat Friends Boutique is giving their winner 6 digis of their choice!  Crafty Sentiments is giving their randomly picked winner 3 digis!  And Stitchy Bear Digital Outlet’s winner gets a $6 gift certificate! TEAM S.A.S will also be choosing their favorite cards for our top three and the winners will receive a blog badge and an opportunity to be a guest design team member on a future challenge.

My first card above features a sweet digi from Flat Friends Boutique called "Bear Hug." I paper pieced the bear and his friend's clothes and popped them up with pop dots on a patterned piece of green cardstock. I added a couple button hearts and stamped a big hug sentiment.


My second card features a cute giraffe from Crafty Sentiments called Gaffi. I created a background with patterned cardstock, some strips of embossed cardstock and a stitched wavy circle. I paper pieced Gaffi and attached a "hey" greeting cut with a die cut from Paper Smooches.

I am entering these cards in the Anything Goes challenges at Wonderful Wednesdays and Crafty Sentiments Designs.

Friday, August 21, 2015

Bee-cause You're Special!


It's Crackerbox Palace Friday and today I am sharing a card I made with Crackerbox Palace's awesome stamps. I used CBP’s sweet bees and a new sentiment to create this cheery card. I started with a yellow cardbase that I embossed with a new hexagon embossing folder from WeR Memory Keepers. I punched a bunch of black dp hexagons with a punch from Fiskars. I stamped the bees and sweet sentiment on a white square and did a little coloring. Then I layered it on a black square and attached everything to the cardbase.

I am entering this card in the Anything Goes challenges at Through the Craft Room Door and 613 Avenue Create.

Thursday, August 20, 2015

Nate's Minion Card for his Baby Cousin


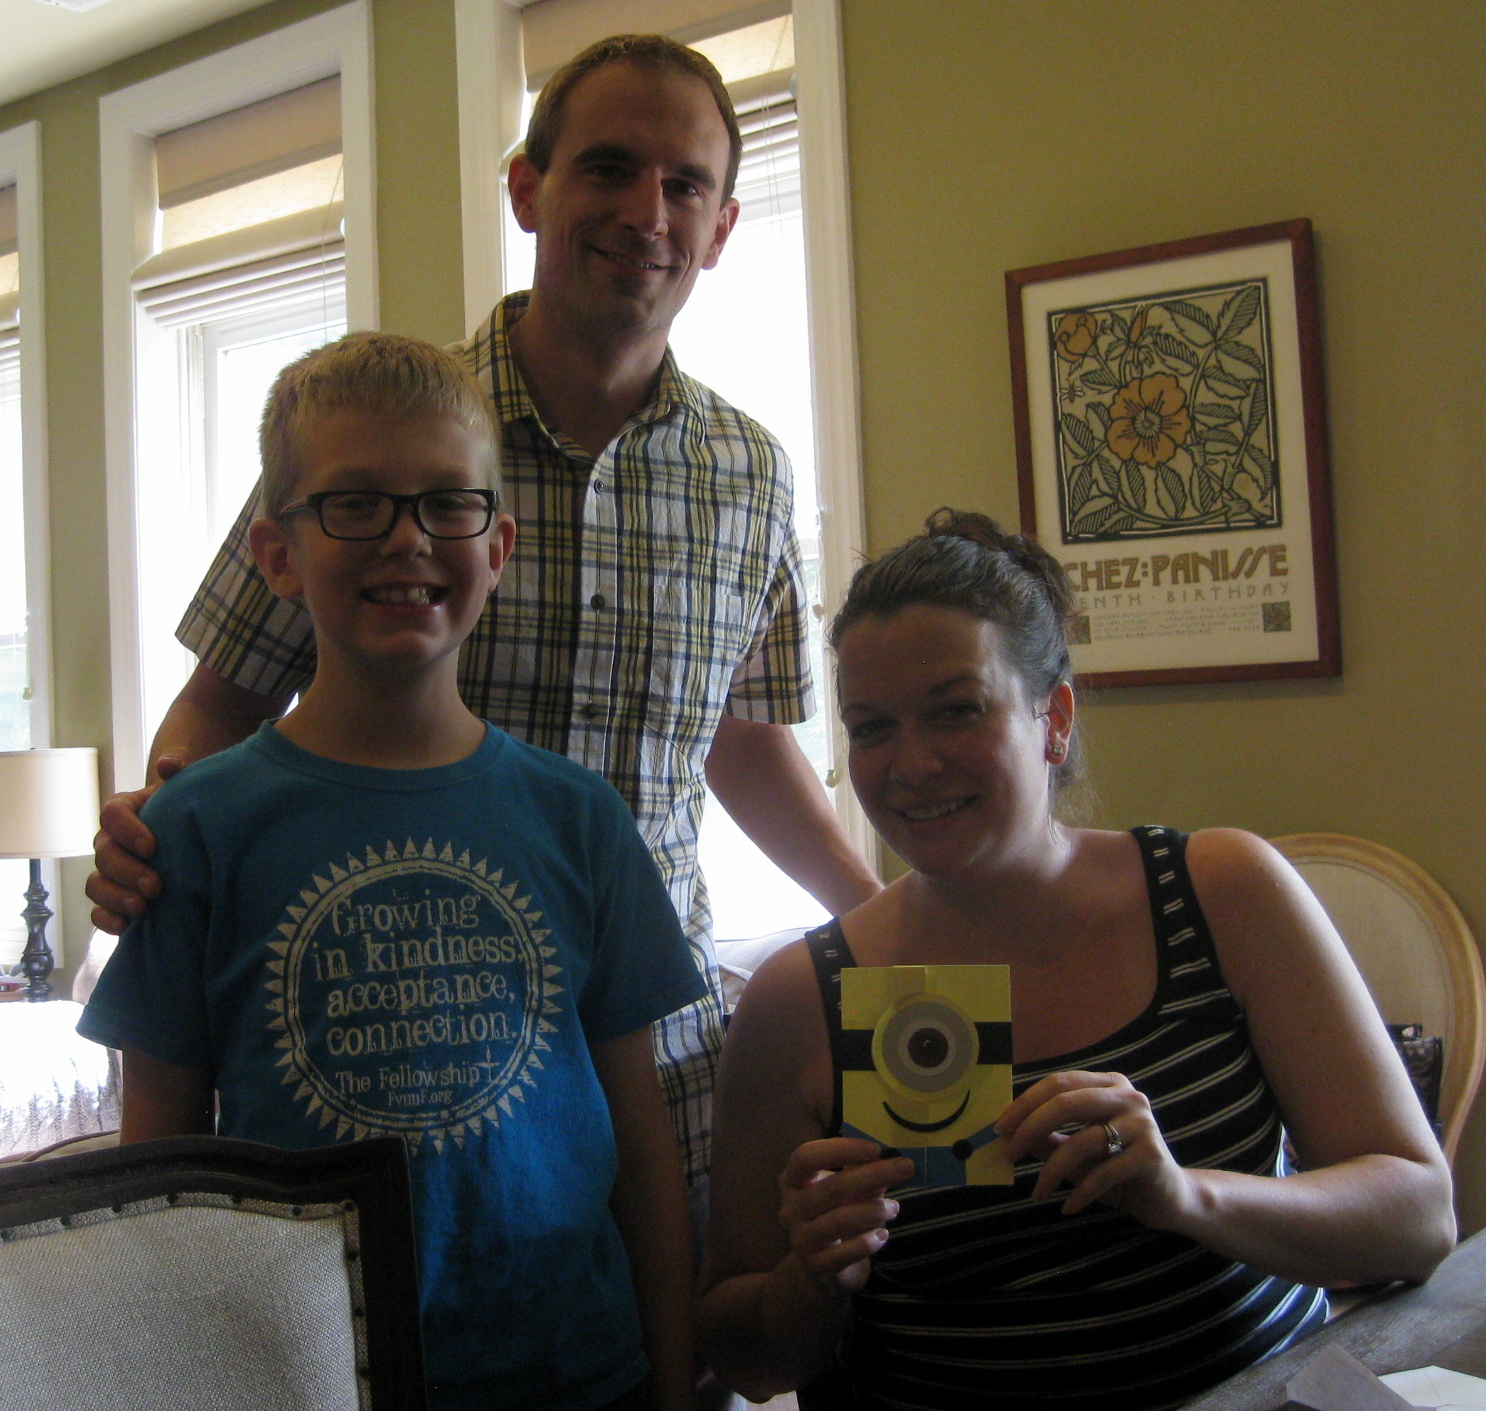
My grandson visited me recently and he made the Minion card above. I found one with brilliant instructions to CASE here on this blog, so we owe a big thanks to Kelley Kent for sharing. I borrowed a friend's Stampin' Up circle flip die and then I pulled out every circle and some other punches I own, as well as a bunch of colored scraps for Nate to make the various parts of this cute card. Here he is presenting the card to my son and his wife. Nate's baby cousin is due the end of November.


And here is a picture of how Nate signed the card he made and addressed the envelope:

So sweet! I am entering Nate's card in the Kids Summer Vacation challenge at Simon Says Stamp. and the challenge at Pixie's Crafty Workshop to use snippets or scraps.