Showing posts with label Die-namics. Show all posts

Wednesday, July 17, 2019

First Triple Flip Card with New Karen Burniston Dies


I just received all the fantastic new dies in the latest Karen Burniston release and couldn't wait to start playing with them! The first card I made (after watching her die assembly video which you want to do for every one of her die sets!), I made this card for my grandson's upcoming birthday with the Triple Flip and the Space Charms Die Sets. The "hey dude" is an older stamp from Kim Hughes. Just watch what happens when the recipient pulls on the arrow:

The panels flip over - isn't that cool? I love interactive cards and this Triple Flip die set makes that so easy! The space man is from the Space Charms die set and the "Happy Birthday to you!" is also from Karen Burniston. "You Rock" is from an older stamp and die set from Die-Namics. I decided not to have an opening card base but will put our personal birthday message on the back:

Celebrate Big and the Stitched Rectangle dies on the back are from Cutplorations. I love all the new dies in the recent Karen Burniston release and will design some more cards for several videos as soon as I can. 

Saturday, June 15, 2019

Alcohol Ink and Deco Foil Wedding Card


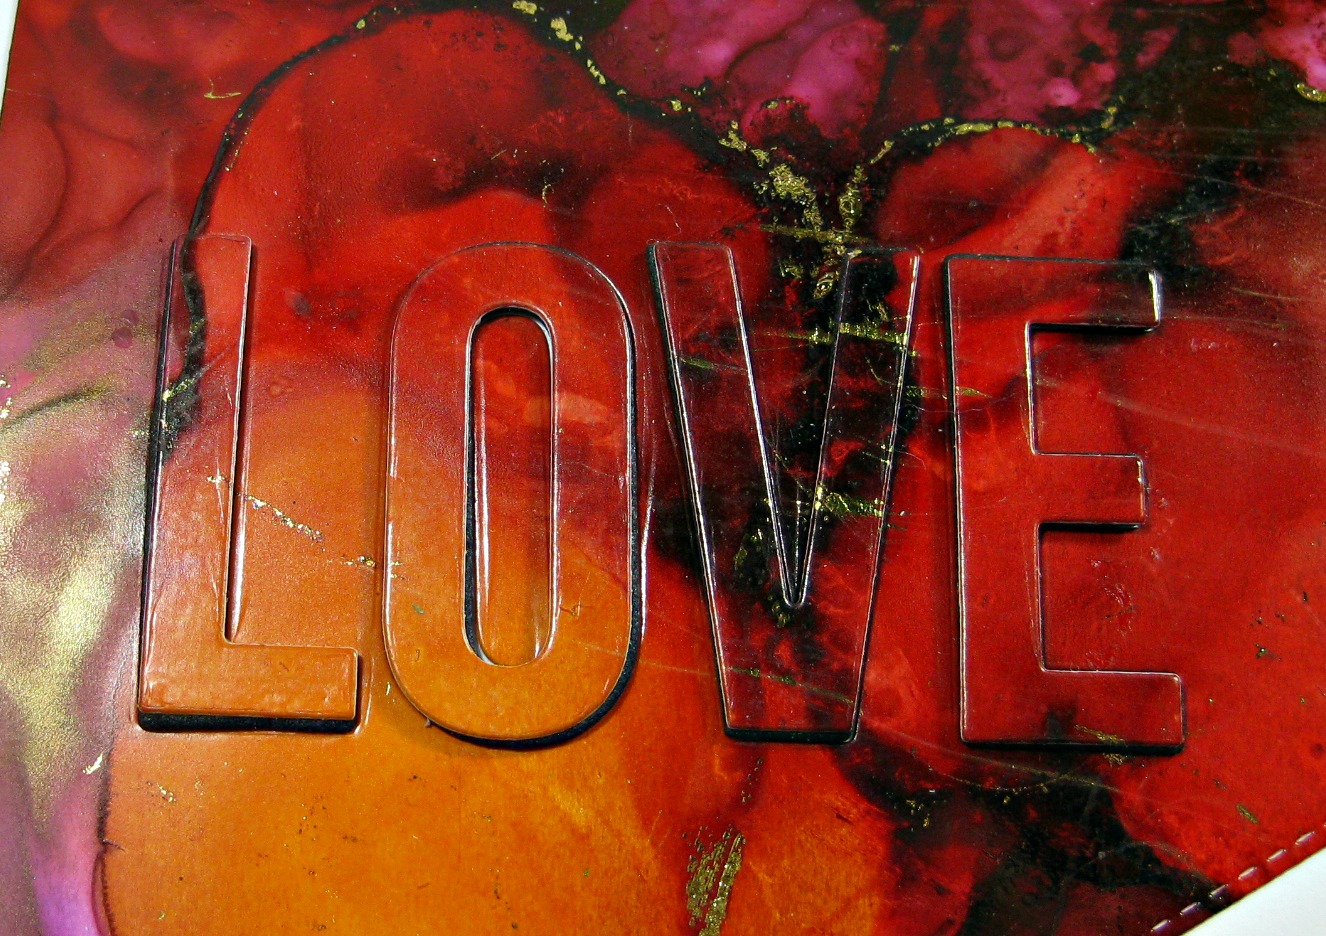
I played with alcohol inks on Yupo paper and while the inks were still tacky, adding some gold Deco Foil for sparkle a long time ago and never got around to blogging this card. Here is a close up of the alcohol ink and gold foil:


I die cut LOVE out using a die from Die-namics, then raised it on black fun foam for the eclipse look. I die cut the bottom edge with a die from Lawn Fawn and the layered Mrs. and Mrs. were cut out of the same alcohol inked piece with layering dies from Honey Bee Stamps. 

I am entering this card in the Wedding/Anniversary challenge at Simon Says Stamp Wednesday.

Tuesday, April 23, 2019

More Gorgeous Scenery Cards from My Newest Video


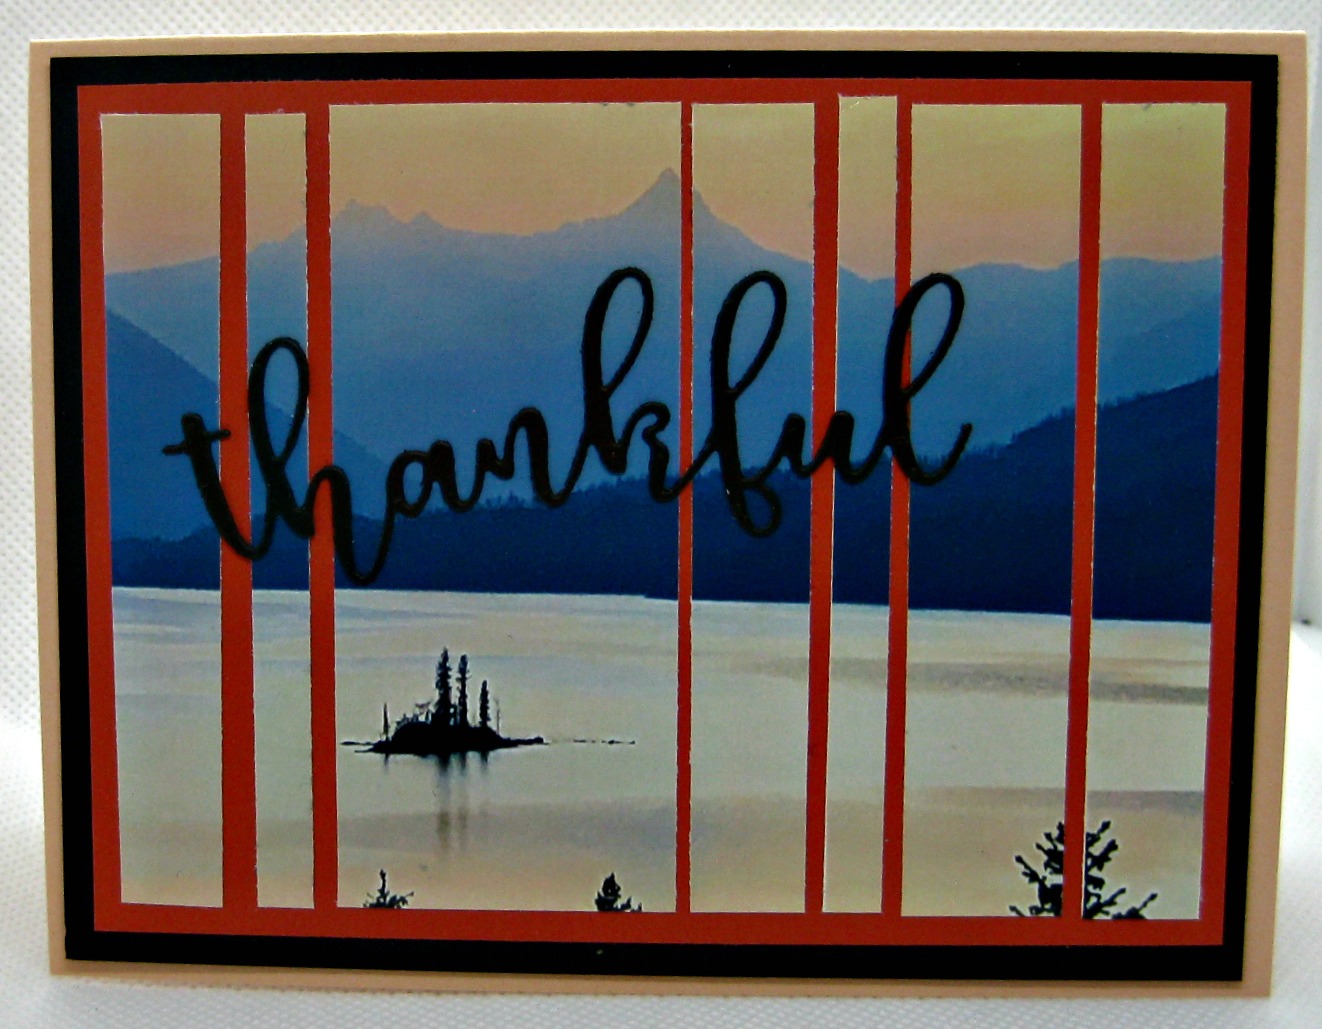
My sister and niece shared so many gorgeous scenery pictures from their recent trip to Montana, I just had to use every one for their gift of memory cards. I made this one in my newest video and show how easy it is to use the eclipse technique with a lovely photograph. I cut the photos themselves with a favorite wonky stitched die from Gina Marie Designs and then die cut LOVE out with a die from Die-namics. I also used dies from Gina Marie Designs and Die-Namics on this eclipse card:


This is another fun idea you can try with a photo or a background of any kind - cut it into strips of different widths and attach them on a cardstock background. I layered on peach and then black and those colors picked up the colors in the photo. "Thankful" was cut with a die from Gina K Designs.

For more ideas on how to make lovely cards with your photos, please watch the video here and come back this week here on my blog. 

Thursday, October 18, 2018

CAS Sympathy Cards with Altenew Wide Washi Tape


I recently played with new rolls of the wide washi tape from Altenew and I love how easy it is to make CAS but gorgeous cards with these washi tapes. I have many of the skinny washi tapes but rarely use them on my cards. When I saw the recent release from Altenew including this awesome Watercolor Nebula pattern, I knew I couldn't resist trying them out. Sympathy cards are not fun to make and we all wish we would not need them, but we do. I simply applied the very wide (nearly 7 inches wide by 32+ feet so the roll will make many, many cards) to a 5 1/4" square and die cut the rounded stitched square out of the center with a Die-namics die. (FYI - I did try stamping directly onto the washi tape, but I couldn't read it and it did smear). So I stamped onto another rounded stitched square with an older but favorite stamp from Heather's Stamping Haven. I raised the center up on mounting tape for dimension. I do not waste any of the gorgeous washi tape covered paper and used leftover pieces to die cut the sentiments in the inside of both cards: 


My second sympathy card with an Altenew Watercolor Nebula Wide Washi Tape background features another favorite sentiment from Crackerbox Palace stamps. I die cut the sentiment and the wide washi tape pieces out with Gina Marie Designs Wonky Stitched Rectangle dies. On the inside of this one is a pretty sentiment die from Tonic Studios cut out of Watercolor Nebula washi tape pieces. These cards took just minutes to make but will be treasured by the recipients in their time of loss.

I have been having so much fun designing with my new Altenew wide washi tapes, and I will be sharing more cards and a video soon.

Tuesday, October 16, 2018

More Alternative Ideas for Cards with the Gina K Designs Wreath Builder Stencils


I recently played with the Gina K Designs Wreath Builder stencil to see if I could come up with some ideas other than the traditional circular wreath and this is one of the cards I share in my latest YouTube video here. I used the stencil in a MISTI and a bunch of smaller stamps to create a background for this Christmas card. I stamped a small ornament 4 times and then repeated with various snowflakes in blues and purples and the result was this fun background. I die cut Christmas out with letter dies from Die-namics, raised the letters on sticky fun foam and placed them back in their spots so the pattern continues through the letters. "Merry" was cut with a die from Stampendous and the snowy border is from Poppy Stamps. Here is another look so you can see the "eclipse" technique dimension on the word Christmas:


My second alternative way to use the Gina K Designs Wreath Builder stencil is something I learned how to do in a class taught by Gina K herself, and I show how to do it in the video here. Without the stencil and the MISTI, it would be nearly impossible to create the uniform pattern you see here, but it is super easy with those tools. I die cut "Happy Winter" from Karen Burniston and popped up a stitched snowflake from Lawn Fawn in the center of my fun winter card. 

Thanks for visiting my blog and for taking the time to watch and subscribe at my YouTube channel. And thanks for helping me #share the joy of creativity! 

Monday, April 23, 2018

Video- How to Use Layered Stamps for Unique Three Dimensional Cards


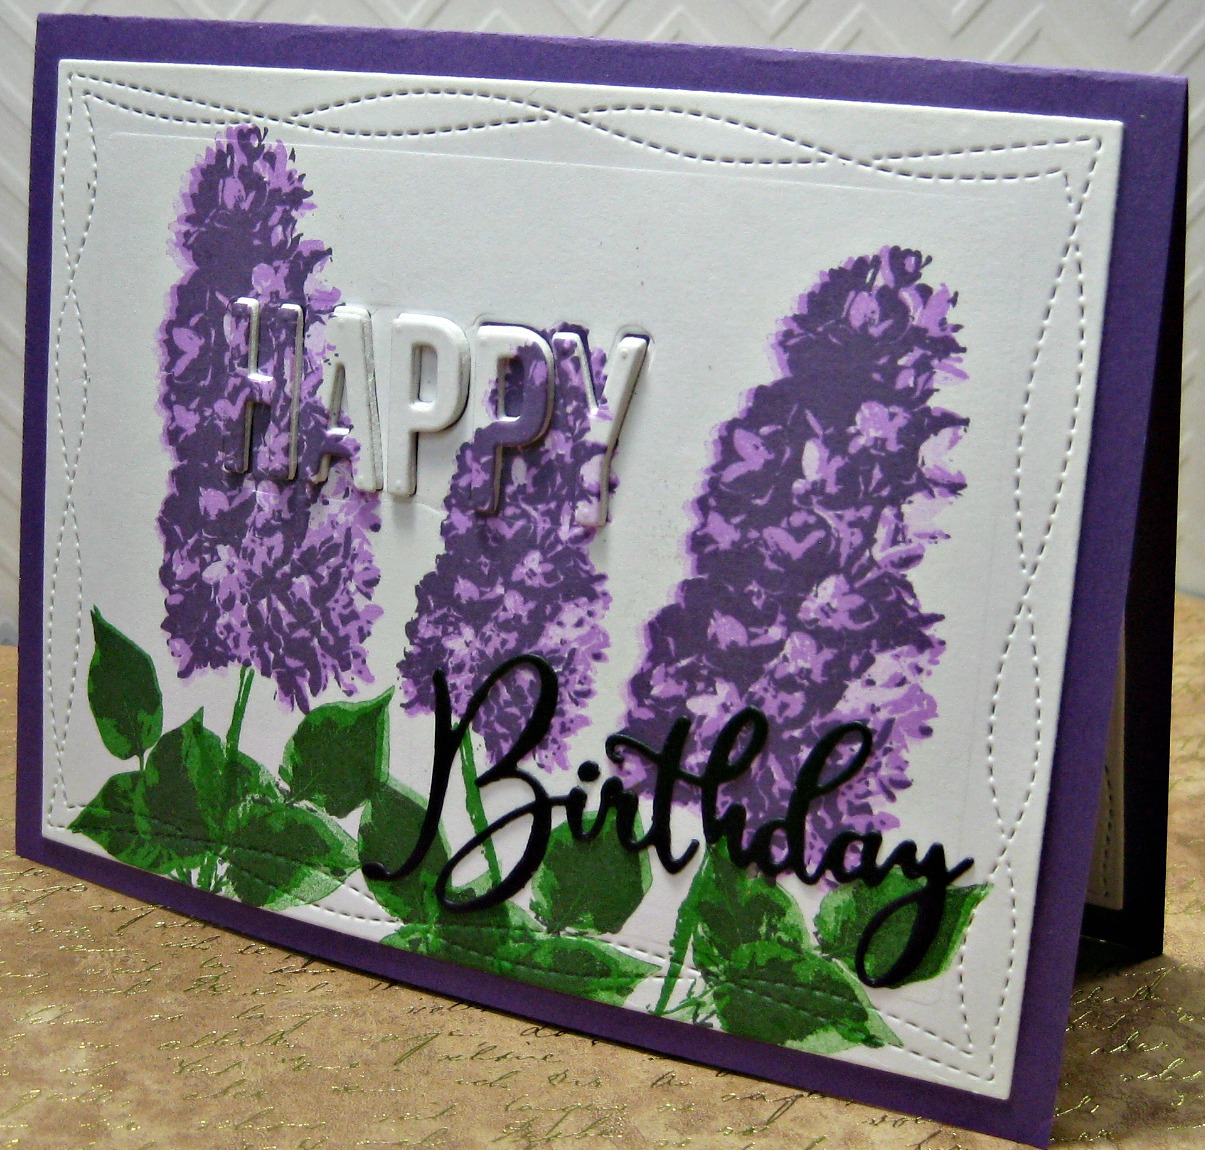
Don't these lilacs look so realistic and lifelike? Lilacs are my favorite all time spring flower and these look so real thanks to Kitchen Sink Stamps multi-step stamps that I am featuring in my newest video here. Kitchen Sink Stamps was the first company to come out with layered stamps or Multi-Step stamps as they call it - they have been creating high quality clear multi-step stamps since 2007. In my newest video, I show many cards with layered stamps including the three I am sharing today all using Kitchen Sink Stamps floral multi-step stamps. Here is another view of the lilacs birthday card:


I stamped the lilacs using several shades of purple and green ink. I diecut Happy (from Die-Namics) and then raised it on foam and glued it back in. the Birthday is from Memory Box and the rectangle stitched die is by Gina Marie Designs. 

Here are two more floral cards I made with Kitchen Sink Stamps and show in the new video:


It is so easy to create lovely realistic looking flowers using the multi-step stamps from Kitchen Sink Stamps. I created the carnations in three different color families for the personalized eclipse card and this is the card I show how to make from start to finish in the new video. The alpha dies are from Kat Scrappiness and I again used a stitched rectangle die from Gina Marie Designs.  My last card features the Multi-Step Lilies Kitchen Sink Stamps, a cute sentiment die from Kat Scrappiness and stitched rectangle dies from CUTplorations. 

Tomorrow I will share the cards from the video using layered stamps from several other companies. For tips and many card samples featuring layered three dimensional stamps, take a look at my video here. Thanks for watching, subscribing, sharing and helping me #share the joy of creativity!

I am entering the first card in the Flower Power challenge at Simon Says Stamp Monday.

Friday, December 8, 2017

Merry Christmas Eclipse Card


I think the one technique from this year that I am still fascinated with is the eclipse technique where the popped up letters are stamped with the background. Here is another look at this one: 


Is it easier to see the dimension of the "Christmas" from this view? I stamped Penny Black's Poinsettia Script Background Stamp with red ink on a white cardfront, then cut out the Christmas using a Christmas block word die from Die-Namics. I layered the stamped words on two layers of  fun foam Christmas letters and glued them back in place. I added "merry" with I die cut in white and dark green using a Tim Holtz Script Holidays die.

Thanks for helping me #share the joy of creativity!

Sunday, October 16, 2016

Club Challenge Thanksgiving Card


I had a few minutes this week and a turkey die from Die-namics I have never used, so I decided to make my local stamp club challenge card for next month. I liked the sketch and we were to use embossing- either kind- so I did my favorite double embossing on aluminum foil with a leaves embossing folder from Sizzix. I used some different embossing powders this time from Stampendous and Stampamania for an aged and fall colored look. I created the card front with a Memory Box stencil and the gorgeous red Glimmer Paste from Nuvo. I die cut the "Gobble Gobble" turkey in a fall colored dp and black and offset them just a bit when I attached them together. Here is a look from the side of the card to see some of the dimension of the glimmer paste and the layers:


I am entering this card in the Fall challenge at Dies R Us.

Monday, March 21, 2016

Happy Easter Bunny Card


I needed an Easter card for a loved one and designed this CAS card with some NBUS (never before used schtuff.) I embossed the bunny embossing folder from Darice, masked the bunny and sponged with my favorite new sponging tool, Creative Expressions Smoothies. I love how easy this new sponging product applies ink of any kind! I die cut the sweet bunny from Die-namics in a light pink and created a darker pink background. I raised the bunny on pop dots and stamped the Happy Easter sentiment (from Repeat Impressions) to complete the card.

I am entering this card in the Cute and Cuddly challenge at Simon Says Stamp Wednesday Challenge and the Easter challenge at Sweet Stampin'.

Saturday, March 5, 2016

Spring Colors 4 Kids at Send A Smile 4 Kids!


It’s Saturday and time for another fun challenge at Send a Smile 4 Kids! This time our challenge is Spring Colors 4 Kids! Create and link any spring colored card appropriate for a child, and you could win one of our great prizes.

We have two very generous sponsors for this challenge: Crackerbox Palace is giving their winner 3 digital stamps! And Die-Version’s winner gets a $15 gift certificate! TEAM S.A.S will also be choosing their favorite cards for our top three and the winners will receive a blog badge and an opportunity to be a guest design team member on a future challenge.

My super "tweet" card above features stamps from one of my favorite stamp companies, Crackerbox Palace. I started with a spring colored circular die from Die-namics as my frame. Then I stamped and paper pieced the fun birdie from CBP. I printed the perfect sentiment from CBP on a diagonal yellow strip. These bright colors sure make me feel like spring!

I am entering this card in the Anything Goes challenge at TTCRD and the Spring challenge at Fresh Brewed Blog. I am also entering it in the challenge to use colored cardstock at LiveLoveCards.