Showing posts with label Birch Press Designs. Show all posts

Monday, May 15, 2023

Scratching For Card Making Beauty!


Remember scratching messages and pictures on black scratch notes years ago? I wondered if I could use my cardmaking tools to make gorgeous colorful cards with them, and the answer is YES as I show in my newest video here. I used 4 colors of Arteza Scratch Notes to make this card step by step in the video with an embossing folder from Taylored Expressions. This card is even more sparkly and beautiful IRL and in the video. 


I also show in the video how to use a stencil to scratch off the black in a pretty pattern and how to write a message with these fun black squares from Arteza. 

**Watch the video here for a chance to win a sample pack of the scratch off squares and your  favorite card from the video so you can give this a try!**


Here is another card I shared in the video showing using die cuts and punched scratched and embossed images on this shaker slimline card. The shaker is full of multi-colored Ceya Broken Glass, the flowers diecuts are from Birch Press Designs and the slimline die is from Gina Marie Designs.


The scratch off pieces are 3 1/2 inches square which is not perfect for making cards, but I taped two together for this mini-slimline card (and taped four together for the first card above) before embossing with an embossing folder. This folder is from Sizzix. I found I liked using folders with larger parts embossed and raised as opposed to ones with very delicate lines. You should try this with the embossing folders and stencils you have and see what you think. The Arteza scratch off squares are inexpensive and fun to play with as I show in the new video here.

I am entering the 2nd card in the Stencil It challenge at Simon Says Stamp Wednesday. 

Monday, January 2, 2023

Bam! Pop! Surprise Cards and Boxes For the New Year


Kids of all ages love surprises and interactive cards and the projects in my newest video BAM and POP when opened! The secret to that motion is new dies from Karen Burniston and my favorite is the Bam Box Pop Up set! Here is a card I made that is identical to the one I show step by step in the video except for the school colors chosen:


The front is cute and created with a graduation border die from Taylored Expressions, sentiment die from IO and grad hat die from Dies...To Die For. But the real magic happens when the card is opened:


The oval grad gown was created with a die from Trinity Stamps and pops up BAM when the card is opened which you can see much better in the new video here.


Another fun way to surprise a recipient with the Bam Box is to put it in a Slider Box created with another new die from the newest release at Karen Burniston. I decorated this one with a layered heart die from Birch Press Designs. Just look what pops up with the ribbon is pulled:


The Bam Box is easy to put together and really creates a fun surprise when it pops as I show in the new video. I used a couple dies from Lawn Fawn and Karen Burniston to create the message for a friend on Valentine's Day with a candy treat inside.


I also show another fun way to surprise someone special with the Slider Box in the new video. It is better to see the action in the video of course, but here are a couple pictures showing what pops up in this box:


Those boxes pop way up and were created with the new Surprise Cube Pop Up die set and under them is a gift card. The butterflies and foiled mirror card are from Paper Wishes, and I used another favorite Karen Burniston die on the front for the Happy Birthday wish.

To see more cards made with the BAM Box die set and how they really pop, watch the new video here. I hope my projects encourage you to give some of the ideas and products a try!

Friday, November 11, 2022

What Else Can We Do With Our Embossing Powder Stash??


I recently watched this Masterclass video by Marion Emberson where she taught a new (to me) technique with embossing powders on folded parchment paper. Marion used WOW embossing powders and I have a few which I used in the  as well as some favorites from Stampendous and Nuvo. All the cards I am sharing include these unique pieces of art created with embossing powders, parchment paper and a heat gun. On the cards below, I also show embossing powders melted on sticky two sided sheets for a bumpy textured look such as on the strips on this card and the next: 


The sentiment on this card is from Quietfire Design. Here are two more cards I created  with both of these techniques:


Marion's video (linked above) is a great one to watch to learn this technique. If you would like to learn how to do my technique with two sided sticky sheets and embossing powder, watch this video here. 

On the background of these cards are pinpoint patterns created with dies from Birch Press Designs and Poppystamps. I had great fun playing with this new technique and the technique I discovered, and hope you will give it a try.

Wednesday, October 5, 2022

Six More Quick and Easy Gorgeous Cards With Background Dies


Another recent die I saw and couldn't resist is this Hummingbird Edger from Creative Expressions. As you can see, all I needed to do is cut it out of white and attach to a mirror card background and add a sentiment (or not as you can see in the next two examples.) This die is large but can be cut down to A2 size as I did in the next two cards:


And another favorite background die set I recently purchased during a great sale at Birch Press Designs is the three layer set used in these cards:


On the first card I used all three layers of the die, but on the next two cards I chose to use just two layers on the large part and one on the semi-circles on the side. The possibilities are endless! I show all thirteen cards I made with these dies in my newest video here and the dies are all so versatile I could make many more! 


Tuesday, August 2, 2022

Stencils and Dies With Gilders Paste Wax


Another beautiful way to use Gilders Paste Wax is to apply it through stencils as I did on this card and the next one from my newest video. On both I started with debossed background dies from Memory Box and on this one I applied bronze Gilders Paste Wax through a stencil from Gina K Designs. 


This dragonfly stencil is from A Colorful Life Designs and on both cards I added embellishments also colored with Gilders Paste Wax. 


The Gilders Paste Wax when applied to cardstock embossed with 3D embossing folders (and regular embossing folders too) is so pretty all you need to do is add a die cut and the result is a gorgeous card. I used a Simon Says Stamp embossing folder and highlighted one of the flowers with a die from Birch Press Designs called String Art Circle Collage. I am going to decide later if I should add a sentiment to these cards including the next one which features a new die from Tutti Designs called Rose Frame and an Altenew embossing folder:


This card features a pretty 3D embossing folder from Sizzix and Tim Holtz called Swirls with Bronze Gilders Paste Wax on the top portion. The vase and flowers are dies from Dies...To Die For and I added African Silver wax over the embossing on the vase. 

I had sooo much fun playing with the Gilders Paste Wax on background and cards, I have more to share and will do so on Thursday here on my blog. In the meantime to see all the cards and how to use this amazing wax, watch the new video here.

Monday, July 25, 2022

Mini Envelope Punch Board - Major Impact Projects!


The size of the Mini Envelope Punch Board from We R Memory Keepers that I am featuring in my newest video may be mini, but the many projects you can make with it are to the max! 


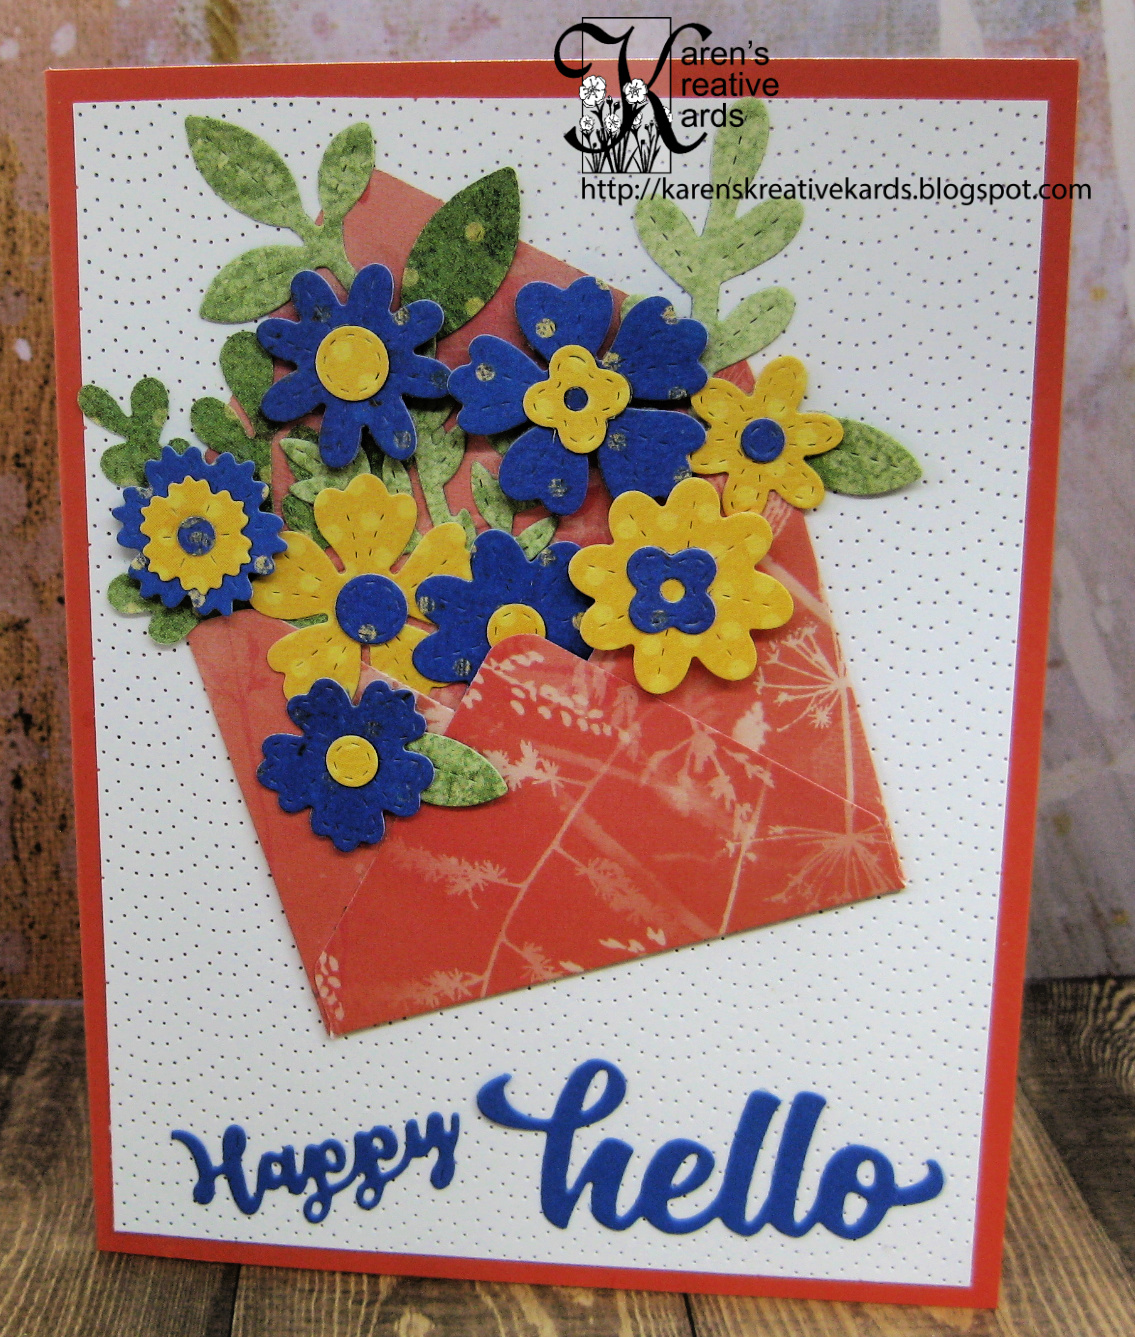
I made a card similar to this one at a local stamp shop and we made the envelope the flowers are bursting out of with the Mini Envelope Punch Board from We R Memory Keepers and I just couldn't resist bringing one home with me. This card features stitched flowers from Pretty Pink Posh and a stitched background die from Poppystamps called Pinpoint Half Ring Plate. In the new video I show how to make this size of mini envelope (2 x 2 1/2") which is my favorite because it is perfect for the front of a card but also to slip a gift card into. 


Here are a bunch of sizes of little envelopes you can easily make in this mini envelope board all the way from 1 x 1 inch to 4 x 4 inch. And next is a project that shows a pretty floral 4 x 3 3/4" envelope with a mini card and a gift card envelope:


So pretty-I love how this turned out and it will be perfect to give my next gift card gift. The card features two layers of the Kaleidoscope floral circle die set from Birch Press Design and a Whittle Spinner Background die from Poppystamps. 


I also show in the new video other projects that can be made with the mini envelope punch board like this treat box with a cute little bow also made with the punch board. I made this box out of patterned mirri card from Paper Wishes. Here are a couple more views of this cute box which could also hold a gift card:


I had so much fun playing with the Mini Envelope Punch Board from We R Memory Keepers and my new video shows many more cards and projects I made. I hope you will watch the new video here and give some of the ideas and products a try!

Monday, May 23, 2022

Stepping Up The Floating Strips Technique For My Newest Video


I love to take a technique or idea and expand on it and make many cards with different ideas, and that is what I have done in my new video here with the Floating Strips or Floating Elements technique. I have seen many lovely cards in Pinterest and Instagram with this idea and traditional shapes like circles with strips of paper over a raised die cut shape of acetate with tiny slits so the image appears to be floating. I decided to try many different shaped dies and then move on to try embossing and stencils as well. In last week's video I demoed some edger dies from Made to Surprise and had a lovely lilacs piece of paper from Paper Wishes sitting here so I made this card with it:


The stitched flower die is called Vivid Bloom from Birch Press Design and check out what I did on the inside with the negative of the acetate strips flower:


I will write a message and sign the card inside that pretty floral shape. Here is another of my favorite cards made with the Floating Strips technique and dies and papers from Paper Wishes called Foggy Forest:


The border oval pines die is from W Plus 9. After making many cards with different die shapes, I decided to try embossing folders and stencils on the acetate and paper strips and here is another favorite card made for the video:


I cut the marble strips in three different colors and sizes and attached to a piece of acetate then embossed the whole piece in a 3D embossing folder from Simon Says Stamp. The sentiment is a die from Sue Wilson and the floral sprig die is from Gina Marie Designs. Here is the card I made in the new video:


This card features the gorgeous Split Rose Flourish Stencil from A Colorful Life Designs on both the background and on the oval floating image piece. I show how to add ink through the stencil, cut the strips, add to acetate with foam adhesive strips, cut with the stitched oval die (from Dies...To Die For) and then attach where the pattern flows from the backgrround in the oval front in the new video here. 

I love how these cards turned out and hope they encourage you to give this technique a try and then send your cards out into the world to spread the joy!

Wednesday, January 5, 2022

Trying Something New and Prize Package You Could Win


I tried something new today- I did my first Facebook Live and showed how to make this Valentine version of the Standing Pop Up fun fold. There were no production disasters but the engagement was not there as I hoped. But you can watch it later now on my Facebook page here and I hope you will and then comment or ask a question. If you are not already a Follower, please follow the new Karen's Kreative Kards business Facebook page and watch the brief video showing how I made this card: 


I debossed the red iridescent cardstock (from Tonic Studios) with a new A2 Stitched Coverplate die from Kat Scrappiness. The layered heart die is from Birch Press Designs, the sentiment die is from Lawn Fawn and the torn heart die is from Dies...To Die For.

I appreciate anyone who takes the time to watch the FB Live video even if after it was live. I decided to offer a prize to draw attention to my first one and it is a package of dies valued at $100:


I am extending the time frame to comment on the FB Live video to include next week's at 11:00 a.m. CST on Thursday January 13, 2022 and that day until midnight CST. You can comment on each of the two FB Lives for two chances at winning this prize (USA mailing addresses only please.) Please share this opportunity to see cards made Live and maybe win the prize with your cardmaking friends and thanks for your support!