Thursday, January 7, 2016

The Rest of my Favorite Cards of 2015


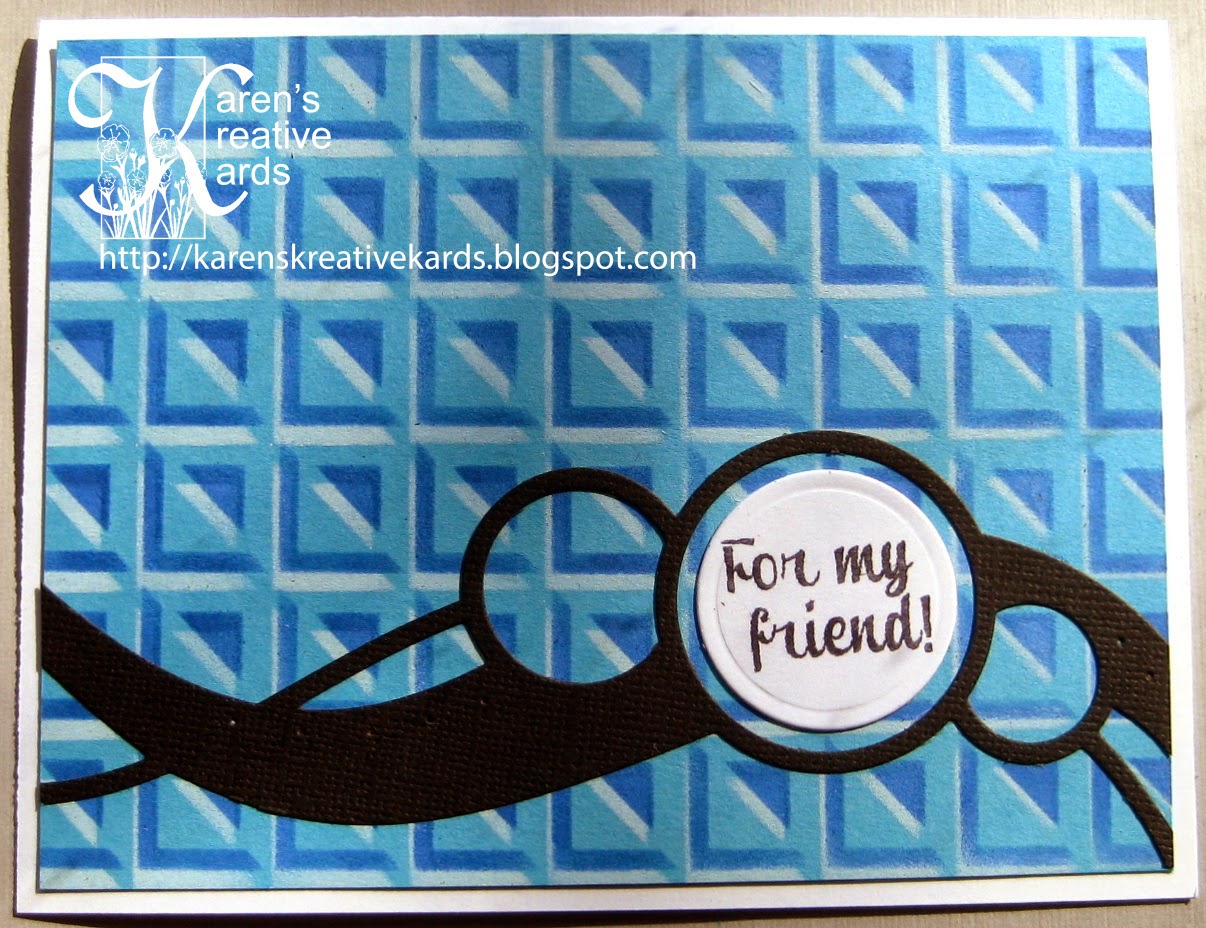
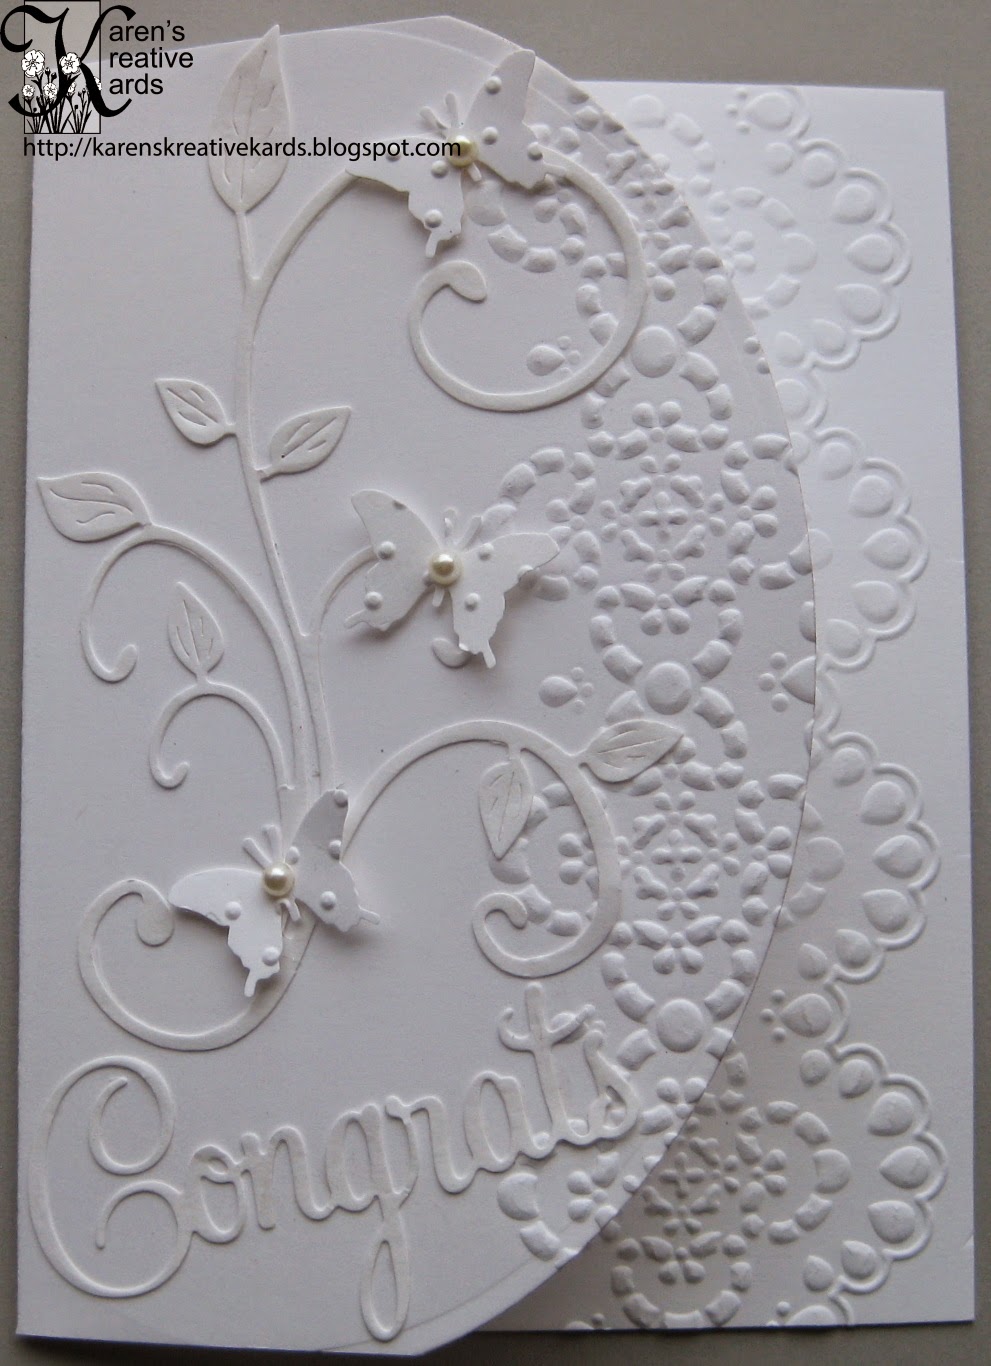
As with the other two blog posts of my favorites, just click on the date below the card to go to the blog post for product and technique particulars. I hope you enjoy this review. I like to look back at the changes and new stuff I tried in the past year, and then move on to sharing new fun techniques, products and projects in this year.


Thanks to all of my followers and subscribers and visitors for your encouraging comments and visits. And special thanks to Tonic Gold USA, Die-Versions, Crackerbox Palace and Repeat Impressions for the awesome products I have received to inspire me each and every day!

Wednesday, January 6, 2016

What If? Wed. Color Challenge at Repeat Impressions


The first Wednesday of each month at Repeat Impression’s blog, The House that Stamps Built, is a color challenge. We give you the color inspiration, and you can make a card using those colors to possibly win a great prize of Repeat Impressions rubber! Here is the color palette chosen this month:

I started with a light blue A2 card base and some dark blue patterned paper. I cut and scored, then folded down the top of the patterned paper piece in a “collar fold”. I stamped “warm winter wishes”, cut out with a deckle scissors and attached. I heat embossed Repeat Impression’s Snowman and Friend with white embossing powder on a white circle. I sponged on dark blue dye ink and did a little coloring of his hat, scarf, face and bird friend.

I am entering this card in the Anything Goes challenges at 613 Avenue Create and Crafting from the Heart.

**Don’t Forget: for a 10% discount on any size order at Repeat Impressions, make a note of my discount code (rr10kh), click on the blog badge on the side of my blog and go to the website here to shop and save!**

Tuesday, January 5, 2016

My Favorite Cards of 2015 Part 2

I am continuing my review of my favorite 2015 cards today. I have chosen three cards from each month- and had a hard time narrowing it down to that number:) Here are my May - August favorites. Click on the date below the picture and you will go to the blog post for product and technique specifics.


Come back Thursday for the rest of my 2015 favorites. Which one(s) are your favorites?

Monday, January 4, 2016

Deep Impressions with Repeat Impressions Stamps

It's a brand new year and today is my turn at the Repeat Impressions blog to share a Project of the Week. Last summer I watched a demonstration of the Deep Impressions technique by Fran Seiford of Stampendous and was fascinated with the texture achieved with embossing powders and rubber stamps. Since then I have played with this technique many times and I am sharing what I have learned here with you today. We start with a shape cut out of chipboard. You can use dies to cut a shape, but I have used Repeat Impressions stamps instead. The key is to pick a die or stamp that is not too intricate. I chose RI's large butterfly, hot air balloon, large and small balloon silhouettes and the Metro Map stamp.

You will need a teflon hot sheet (I used one from Ranger), extra thick clear embossing powder (from Ranger or Stampendous), various colored embossing powders, an electric griddle, rubber stamps and some utensils. Once you have used the griddle and utinsels for this technique, they should not be used again for any food preparation.


Place the cut out chipboard piece on a teflon hot sheet on an electric griddle pre-heated to 300 degrees. Cover the piece with a layer of extra thick clear embossing powder (Ranger or Stampendous) and let it melt. You can cover it with a glass cover to speed the melting. Once melted, sprinkle on your choice of colorful or aged embossing powders or enamels. I chose Aged Scarlet, Aged Black and Gold Glitter embossing powders from Stampendous for the butterfly on the card above, but in the picture I used Aged Teal, Turquoise and Steel Blue Glass Glitter from Stampendous. Let those embossing powders completely melt.


Move the completely melted piece over on the teflon mat to get rid of some of the excess melted embossing powder and then remove the teflon sheet with the chipboard piece from the electric griddle with a large spatula. Immediately stamp the molten piece with a rubber stamp. That is what creates the beautiful texture and deep embossing of the piece and does not harm the rubber stamp. In just a few seconds, you can remove the stamp and your piece is done. Here are some more pictures of the process with RI's hot air balloon using Aged Hunter and Fresh Green Crushed Glass Glitter from Stampendous:


After the deeply embossed pieces have cooled, you can make cards or mixed media or art with them.
On my first card, I created a background with Repeat Impression's Metro Map stamp on a rectangle chipboard piece using Shabby Blue embossing powder from Stampendous and a blue sparkly embossing powder from Recollections. I heated them following the directions above and then stamped RI's Metro Map resulting in the great texture above. I created the butterfly as described above and added some black gems before attaching to the card. The sentiments on both cards are from the Big Boys Toys collections.

On my second card, I masked the sides of a white card base with temporary tape and sponged the strip with light blue dye ink. Then I stamped Repeat Impression's Postcard background stamp before removing the masks. I created the hot air balloon as described above and stamped it with the same stamp while the embossing powders were molten. The large and small balloon silhouette stamps from Repeat Impressions do not have any detail as they are silhouette stamps. So I stamped them on chipboard, cut out, and applied several layers of beautiful colored embossing powders to them. While molten, I stamped each of them with the Metro Map stamp. Here is a close-up picture showing the great dimension of each of them:


I had so much fun going deep with this fun technique and Repeat Impressions stamps. I hope you give it a try.

I am entering these cards in the Anything Goes challenges at 613 Avenue Create and Cute Card Thursday.

Sunday, January 3, 2016

My Favorite Cards of 2015 Part One

I am joining in the blogging tradition of posting pictures of my favorite cards of the past year. But I could not narrow down my choices to 10 for the year or even one per month. I have chosen three favorite cards I designed and blogged from each month in 2015 and will spread them over three blog posts. You can click on the date below the picture of each card if you want to go the blog post and see details on the products or techniques used.


Come back in a couple days for more of my favorite cards of 2015, and stay tuned for more favorites in 2016!

Saturday, January 2, 2016

Valentines or Love Cards 4 Kids at Send a Smile 4 Kids


It’s Saturday and time for another fun challenge at Send a Smile 4 Kids! This time our challenge is Valentines or Love Cards 4 Kids! Create and link any love or Valentine card appropriate for a child, and you could win one of our great prizes.

We have two very generous sponsors for this challenge: Doodle Pantry is giving their winner a $10 gift certificate! And Die-Version’s winner gets a $15 gift certificate! TEAM S.A.S will also be choosing their favorite cards for our top three and the winners will receive a blog badge and an opportunity to be a guest design team member on a future challenge.

My card is a Valentine for a special boy featuring Doodle Pantry's colored digital stamps from the Little Boy Valentine set. I folded down the top of a red square card base and layered the Valentine truck on a blue square. I attached some Valentine dp in the center of the card and the fun sentiment also from Doodle Pantry.


I am entering this card in the Anything Goes challenges at Crafting from the Heart and Craft Your Passion.

Friday, January 1, 2016

Wine Me Up and Happy New Year!


It’s Crackerbox Palace Friday and today I am sharing a celebration card I made with Crackerbox Palace stamps,  the Deep Impressions technique and BoBunny glitter paste. I started with a stars stencil and applied gold BoBunny glitter paste through the stars openings. BoBunny glitter paste dries much faster than the usual stencil paste and is bright and sparkly. I stamped CBP’s wine bottle stamp twice on chipboard and cut them out. I applied several layers of embossing powders including red and gold and melted them on an electric griddle. While the embossing powders were still molten, I stamped the wine bottle stamp into them. I finished the card with the funny wine sentiment from Crackerbox Palace.

Happy New Year from Crackerbox Palace and me!

I am entering this card in the Anything Goes challenges at Crafty Creations and Crafty Gals Corner.